명령어 한 줄로 끝내기: 전체 파이프라인 자동화 스크립트 (Shorts 자동화 7편)
도입
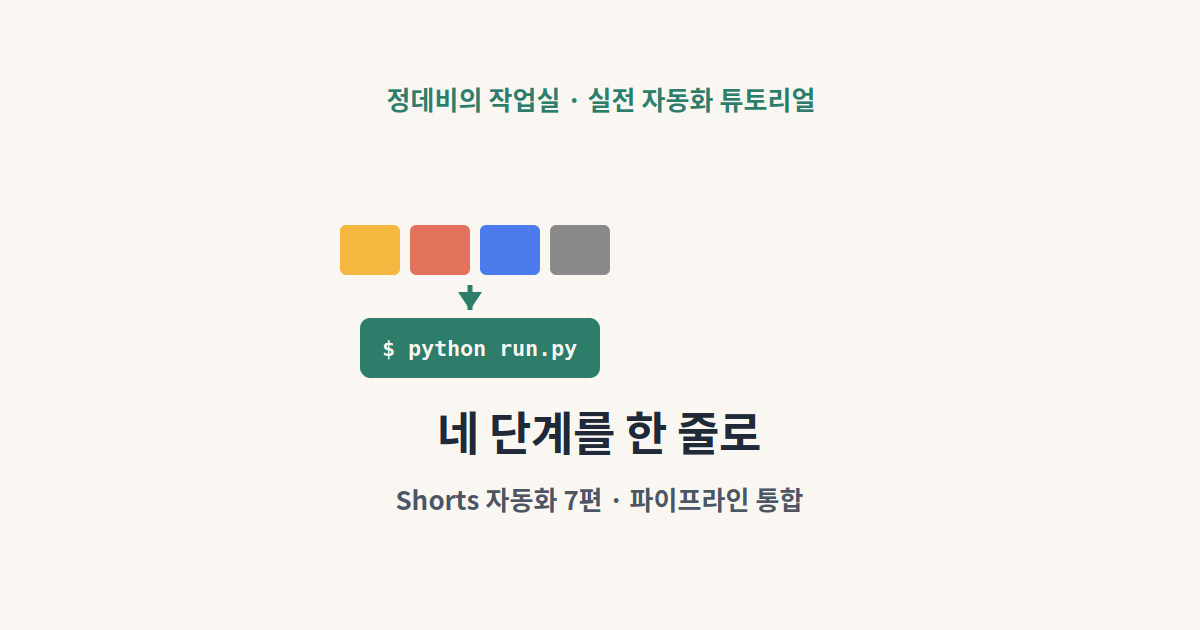
6편까지 4개의 스크립트(이미지 생성, TTS 생성 × 2, 씬 조립, Remotion 렌더링)을 사람이 순서대로 손으로 실행했습니다.
Oracle A1 서버에 배포하기: 헤드리스 렌더링과 한글 폰트 이슈 (Shorts 자동화 6편)
도입5편까지는 모든 것을 로컬 macOS에서 돌렸습니다. AI 이미지까지 연결해서 첫 자동 영상 완성하기 (Shorts 자동화 5편)도입4편에서는 음성과 자막을, 3편에서는 씬 구조를 만들었습니다. 한국어 A
blog.jdevy.com
이번 편에서는 이 순서를 하나의 스크립트로 묶어서, 대본 JSON 파일 하나만 준비하면 명령 한 줄로 끝까지 자동 실행되는 구조를 만듭니다.
첫 버전: run_pipeline.py
먼저 가장 단순한 형태로 만들었습니다.
#!/usr/bin/env python3
"""
정데비의 작업실 - Shorts 자동화 전체 오케스트레이션 스크립트
사용법: python run_pipeline.py script.json
"""
import json
import subprocess
import sys
from pathlib import Path

def run(cmd: list[str], step: str):
    print(f"\n{'='*50}\n[{step}] {' '.join(cmd)}\n{'='*50}")
    result = subprocess.run(cmd)
    if result.returncode != 0:
        print(f"{step} 단계 실패. 중단합니다.")
        sys.exit(1)

def main():
    if len(sys.argv) < 2:
        print("사용법: python run_pipeline.py script.json")
        sys.exit(1)

    script_path = Path(sys.argv[1])
    data = json.loads(script_path.read_text(encoding="utf-8"))
    scenes = data["scenes"]
    output = data.get("output", "out/pipeline-output.mp4")

    prompts = [
        {
            "filename": f"{s['name']}.png",
            "prompt": s["image_prompt"],
            "size": "shorts_9_16",
            "quality": "medium",
        }
        for s in scenes
    ]
    Path("prompts.json").write_text(
        json.dumps(prompts, ensure_ascii=False, indent=2), encoding="utf-8"
    )

    run(["python3", "generate_images.py", "prompts.json"], "이미지 생성")

    scene_names = []
    for s in scenes:
        run(["python3", "tts_captions.py", s["text"], s["name"]], f"TTS 생성 ({s['name']})")
        scene_names.append(s["name"])

    run(["python3", "build_scene.py", *scene_names], "씬 데이터 조립")

    run(
        ["npx", "remotion", "render", "SceneVideo", "--props=scene-props.json", output],
        "Remotion 렌더링",
    )

    print(f"\n전체 파이프라인 완료: {output}")

if __name__ == "__main__":
    main()
이 스크립트의 run() 함수는 매번 같은 일을 합니다 — 명령을 실행하고, 실패하면 메시지를 찍고 즉시 멈추는 거죠. 덕분에 중간에 어느 단계에서 실패해도 에러가 조용히 묻히지 않고 바로 알 수 있습니다.
사용법
대본 JSON 파일 하나만 작성하면 됩니다.
{
  "output": "out/my-first-auto-shorts.mp4",
  "scenes": [
    {
      "name": "scene1",
      "text": "안녕하세요, 정데비의 작업실입니다.",
      "image_prompt": "따뜻한 조명의 홈 오피스, 플랫 일러스트 스타일"
    },
    {
      "name": "scene2",
      "text": "오늘은 Remotion 자동화 테스트를 진행합니다.",
      "image_prompt": "로봇 캐릭터가 화면을 보는 모습, 플랫 일러스트 스타일"
    }
  ]
}
명령 한 줄로 전체 실행됩니다.
python3 run_pipeline.py script.json
이미지→TTS→조립→렌더링이 에러 없이 한 번에 끝나면 out/my-first-auto-shorts.mp4가 생깁니다.
문제 발견 — 콘텐츠가 늘어나면 파일이 서로 덮어쓴다
위 구조로 콘텐츠를 하나씩 만들 때는 문제가 없었지만, 여러 콘텐츠를 다루면서 두 가지 실수가 드러났습니다.
- script.json은 콘텐츠마다 계속 바뀌는데, 서버에 반영하려면 매번 git commit/push/pull이 필요해 번거롭습니다.
- scene1.png, scene1.mp3처럼 이름이 고정되어 있어서, 콘텐츠 여러 개를 동시에 다루면 파일이 서로 덮어쓰일 위험이 있습니다.
해결 방향 — 슬러그 기반 폴더 구조
script.json은 코드가 아니라 콘텐츠마다 바뀌는 데이터이므로, Git으로 관리할 이유가 없습니다. 스크립트(코드)만 Git으로 관리하고, 콘텐츠 데이터는 서버에서 직접 만들도록 역할을 나눴습니다. 콘텐츠마다 고유한 "슬러그"(예: remotion-intro)를 씬 이름에 포함시켜 폴더 자체를 콘텐츠별로 분리합니다.
projects/
  <주제-슬러그>/
    script.json          ← 입력 (git 관리 안 함)
    prompts.json          ← 자동 생성
    scene-props.json      ← 자동 생성
public/
  <주제-슬러그>/
    scene1.png, scene2.png
    scene1.mp3, scene2.mp3
out/
  <주제-슬러그>.mp4        ← 최종 결과물
개선된 run_pipeline.py (슬러그 기반)
#!/usr/bin/env python3
"""
정데비의 작업실 - Shorts 자동화 전체 오케스트레이션 스크립트
사용법: python run_pipeline.py projects/슬러그/script.json
"""
import json
import subprocess
import sys
from pathlib import Path

def run(cmd: list[str], step: str):
    print(f"\n{'='*50}\n[{step}] {' '.join(cmd)}\n{'='*50}")
    result = subprocess.run(cmd)
    if result.returncode != 0:
        print(f"{step} 단계 실패. 중단합니다.")
        sys.exit(1)

def main():
    if len(sys.argv) < 2:
        print("사용법: python run_pipeline.py projects/슬러그/script.json")
        sys.exit(1)

    script_path = Path(sys.argv[1])
    data = json.loads(script_path.read_text(encoding="utf-8"))
    slug = data["slug"]
    scenes = data["scenes"]
    output = f"out/{slug}.mp4"

    qualified_names = [f"{slug}/{s['name']}" for s in scenes]

    prompts = [
        {
            "filename": f"{slug}/{s['name']}.png",
            "prompt": s["image_prompt"],
            "size": "shorts_9_16",
            "quality": "medium",
        }
        for s in scenes
    ]
    prompts_path = Path("projects") / slug / "prompts.json"
    prompts_path.parent.mkdir(parents=True, exist_ok=True)
    prompts_path.write_text(json.dumps(prompts, ensure_ascii=False, indent=2), encoding="utf-8")

    run(["python3", "generate_images.py", str(prompts_path)], "이미지 생성")

    for s, qname in zip(scenes, qualified_names):
        run(["python3", "tts_captions.py", s["text"], qname], f"TTS 생성 ({s['name']})")

    run(["python3", "build_scene.py", *qualified_names], "씬 데이터 조립")

    Path("out").mkdir(exist_ok=True)
    run(
        [
            "npx", "remotion", "render", "SceneVideo",
            f"--props=projects/{slug}/scene-props.json",
            output,
        ],
        "Remotion 렌더링",
    )

    print(f"\n전체 파이프라인 완료: {output}")

if __name__ == "__main__":
    main()
generate_images.py, tts_captions.py, build_scene.py에도 각각 슬러그 하위 폴더를 자동으로 만들고 경로를 찾는 로직이 들어갔습니다 (세부 코드는 4·5편의 스크립트에서 약간씩 경로만 조정한 형태입니다).
새 사용법
mkdir -p projects/remotion-intro
cat > projects/remotion-intro/script.json << 'EOF'
{
  "slug": "remotion-intro",
  "scenes": [
    { "name": "scene1", "text": "안녕하세요, 정데비의 작업실입니다.", "image_prompt": "따뜻한 조명의 홈 오피스, 플랫 일러스트 스타일" },
    { "name": "scene2", "text": "오늘은 Remotion 자동화 테스트를 진행합니다.", "image_prompt": "로봇 캐릭터가 화면을 보는 모습, 플랫 일러스트 스타일" }
  ]
}
EOF

python3 run_pipeline.py projects/remotion-intro/script.json
결과: public/remotion-intro/에 이미지·오디오, out/remotion-intro.mp4에 최종 영상 — 콘텐츠별로 완전히 분리되어 서로 섞이지 않습니다. script.json은 git에 안 올라가니 매번 push할 필요가 없습니다.
주의사항 / 흔한 실수
- 슬러그 이름은 이 콘텐츠의 모든 산출물 폴더명이 되므로, 다른 콘텐츠와 겹치지 않는 값으로 정하세요.
- run_pipeline.py는 중간 단계 실패 시 즉시 멈추므로, 이미지 생성까지 비용이 발생한 뒤 뒤쪽 단계에서 실패하는 경우도 있으니, 에러 메시지를 꼭 확인하세요.
- projects/와 public/*는 콘텐츠 데이터라 .gitignore에 포함되어야 합니다 (6편 참고).
마무리
이번 편에서는 이미지·TTS·조립·렌더링 네 단계를 하나의 명령으로 통합하고, 여러 콘텐츠를 동시에 다루어도 서로 섞이지 않도록 슬러그 기반 폴더 구조로 정리했습니다. 이제 대본 JSON 하나와 명령 한 줄로 완성된 Shorts를 만들 수 있습니다. 다음 편에서는 이 명령을 SSH 접속 없이 폰에서 탭 한 번으로 실행하는 웹훅 서버를 만듭니다.
폰에서 탭 한 번으로 영상 만들기: 웹훅 서버 구축기 (Shorts 자동화 8편-마지막)
도입7편까지는 대본 JSON을 준비해도 SSH로 접속해서 python3 run_pipeline.py를 직접 실행해야 했습니다. 명령어 한 줄로 끝내기: 전체 파이프라인 자동화 스크립트 (Shorts 자동화 7편)도입6편까지 4개의
blog.jdevy.com
[핵심요약] 명령 한 줄로 Shorts 전체 자동화 스크립트 만들기